Installing a GPS tracker on a motorcycle
Every year, tens of thousands of bikes are stolen in the USA and never seen again by their owners. It becomes difficult for the police to find the motorcycles, and most of the cases filed reach nowhere because thieves disassemble the bike parts and sell them within a few days of stealing. This is where GPS trackers come in handy to find missing bikes quickly and without delay. The police have also lately been promoting the use of GPS trackers on motorbikes as it makes their search for vehicles easy. Because GPS trackers for motorcycles have become an essential instrument for motorcycle owners, it is important that the device is well hidden from plain sight so that thieves cannot disable it. Installing a GPS tracker on a motorcycle is a relatively simple task if you follow the proper steps. In this article, we explain a step-by-step process on how to install gps tracker on motorcycle. You can also read motorcycle prepration guide for the spring riding season.
Different types of GPS trackers
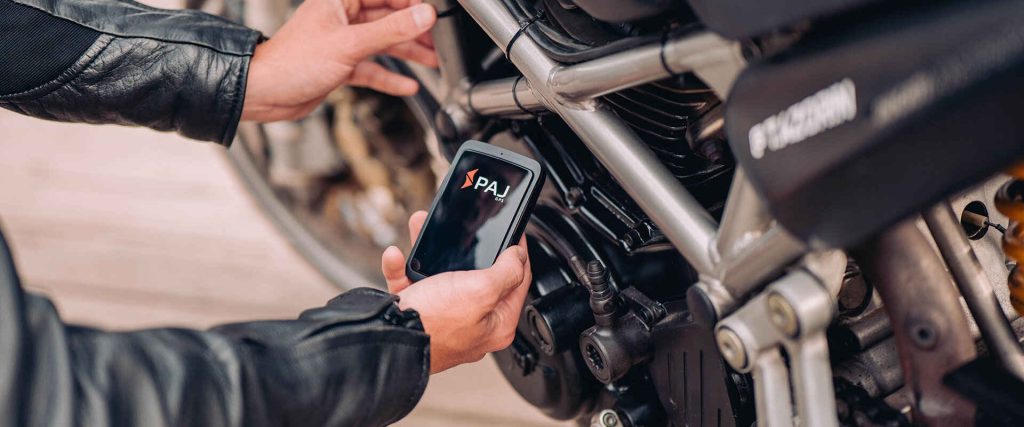
At PAJ GPS, we have different locators, ones with a battery and ones without a battery. Here, we explain GPS tracker installation that does not have its own battery and must be connected to the motorcycle battery. These trackers are fitted with bikes and can be well hidden.
Set up: GPS Tracker Installation on Motorcycle
- Activate the GPS tracker : First , you have purchased a PAJ GPS tracker for your motorbike safety. Before installing the tracker on your motorcycle, ensure that it is correctly activated and configured according to the manufacturer’s instructions.
- Access the battery – To install the tracker, you will need to access your motorcycle’s battery. In general, motorcycle batteries are placed under the seat, and you need to follow the instructions in the vehicle manufacturer’s manual.
- Remove the terminal protectors :Once you have access to the battery, carefully remove the protectors from the battery terminals so that you can safely connect the locator cables.
- Connect the cables :The most important feature is that the PAJ GPS tracker usually comes with red and black cables. Connect the red cable to the positive (+) pole of the battery and the black cable to the negative (-) pole. Ensure that the connections are secure.
- Clean the surface on which you will connect the device : Use an electrical contact cleaner to ensure that the surface on which you will stick the locator is clean and free of dirt or grease.This will ensure better adhesion.
- Remove the sticker from the Velcro and stick it: apply a strip of adhesive Velcro to the previously cleaned surface. Ensure it is well adhered and there are no air bubbles underneath.
- Adhere the tracker to the sticker with the side facing up :The PAJ GPS tracker generally has one side with the GPS antenna facing the top. Press the locator firmly onto the Velcro to secure it in place.
- Connect the locator to the terminals : connect the locator cables to the terminals that you have previously connected to the battery. Ensure that the connections are solid and that there is no slack.
- Check the light :Once you have connected the tracker, check that the GPS indicator light is blue. This means that the device is receiving a GPS signal and is ready to work.
- Flashing Green LED Light – Some PAJ GPS trackers may indicate Internet connection by flashing green LED light. This means that the device is online and can send location data to the tracking platform.
Once you have completed these steps, your PAJ GPS tracker will be installed and ready to use. You can set up the online tracking platform according to the instructions in the manual to start monitoring the location of your motorcycle in real time and ensure that it is protected at all times.
With this device, you will have greater control and safety over your motorcycle. You can also view the route history of the last 365 days in more than 100 countries.
Regular updates and robust security protocols make PAJ GPS devices a reliable choice for safeguarding your information.
Conclusion
Setting up a GPS tracker on a motorcycle is a DIY easy and fun process, and you do not need to be a mechanic to do it. However, if you are confused and think it is better to seek help from a mechanic, then do it immediately. Remember that the safety of your motorcycle is the number 1 priority, and the GPS Tracker is helpful in this regard.


